|
The Sun-Mar corporation sells a line of composting toilets.
In 1989 I bought an Excel NE non-electric composting toilet
for my cabin. Sun-Mar redesigned the NE toilet in 1998 to
make it rounder and to hide the drum rotating handle.
In 2011 the gear that rotates the drum broke in half. I was
able to fix the toilet using some epoxy glue and a rigid
coupling.
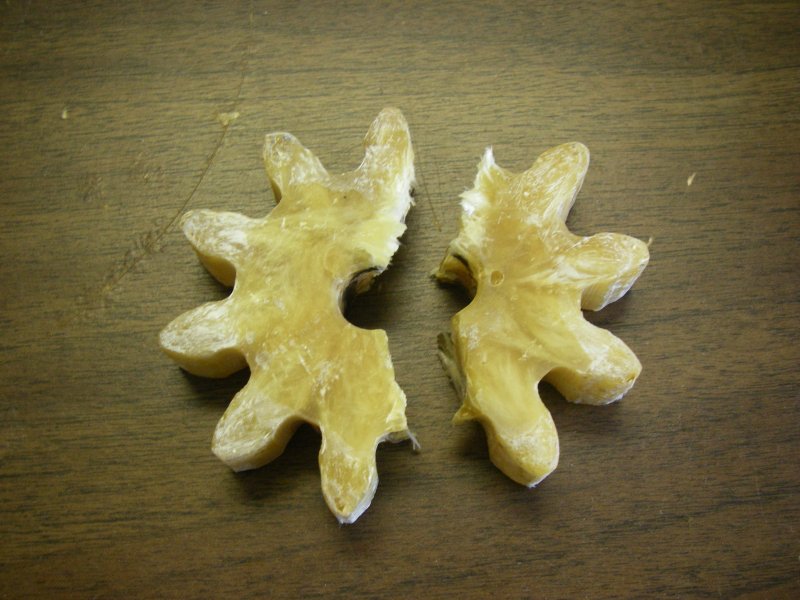
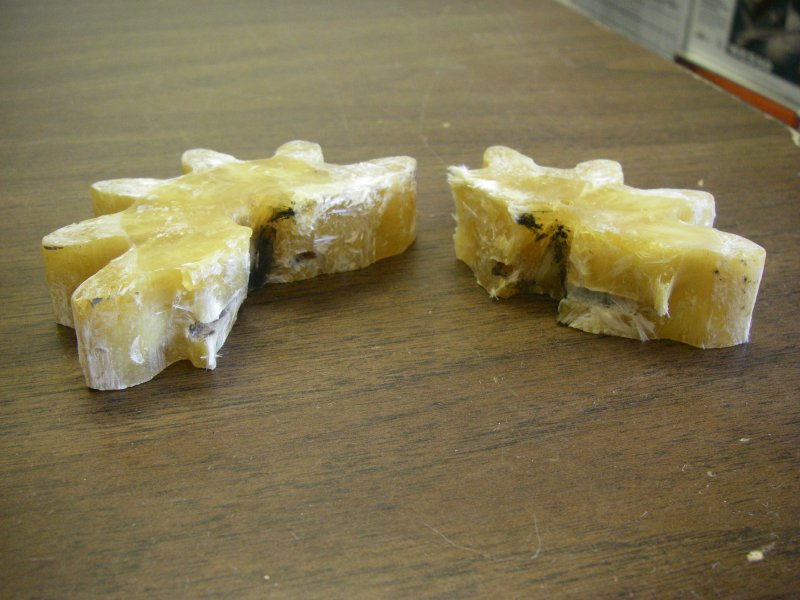
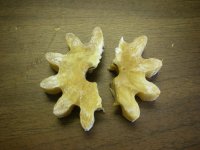
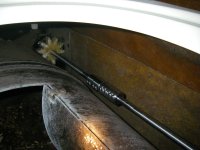
The gear is held on to the rod with a roll pin. The gear
fractured along the roll pin hole as seen in these
pictures:

The gear appears to be made of epoxy resin so I reasoned
that some slow-set epoxy glue would put it back together.
Tools and materials
- slow-set epoxy glue
- stainless steel rigid coupling
- pipe cutters
- vice grips
- emery cloth
- bench vice
- rubber band
- allen wrench
- cotton swabs
I bought a stainless steel rigid coupling from Amazon. It's
designated "Climax ISCC-050-050-S 1/2 X 1/2" Bore 1pc Split
303ss Coupling".
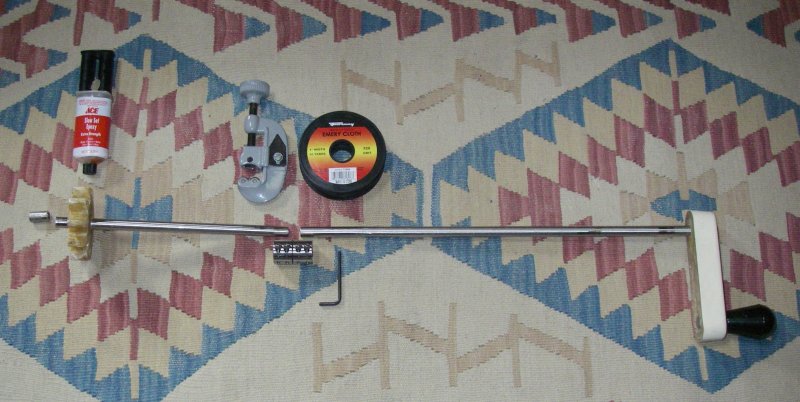
Some of the parts and tools are in this picture. At the top
are the slow-set epoxy glue, a pipe cutter, and a roll of 1"
emery cloth. In the middle are the three pieces of rod: the
end stub, the gear half with the gear reattached, and the
handle half. At the bottom are the rigid coupling and the
allen wrench:

Procedure
-
Remove the broken gear pieces and clean them thoroughly. I
soaked them in a mild bleach solution for a few hours.
-
Pull out the rod from the front of the toilet and cut it
with some pipe cutters about nine inches from the gear's
roll pin. I used the same pipe cutters I use for cutting
copper pipe. The process is much slower on thick stainless
steel rod but it does work. I used a pair of vice grips to
grip the rod while rotating the pipe cutters.
-
Pull out the handle half of the rod completely from the
front of the toilet and remove the gear half of the rod from
the inside of the toilet.
-
The pipe cutting process makes a slight ridge on the newly
cut rod ends. The ridge must be removed before the rod will
fit in the rigid coupling. I fit the two rod halves into a
bench vice and sanded the ends with emery cloth. Make sure
that the handle half of the rod will slide into the rigid
coupling when the gear end of the rod is already firmly
attached to the rigid coupling. This is important.
-
Practice fitting the gear pieces back together on the rod
and roll pin. Mix up a batch of slow-set epoxy, thoroughly
coat all fractured surfaces, and reassemble the gear on the
rod and roll pin. I used a thick rubber band to keep the
pieces together while the glue cured. Use cotton swabs to
remove drips of glue. Slow-set epoxy takes 24 hours to cure
completely.
-
When the glue is completely cured, use the pipe cutters to
cut a small piece rod from the gear end of the gear half of
the rod. This is to make it possible to reinsert the rod
into the back hole and reengage the gear to the drum. I cut
5/8" from the end leaving 3/4". You'll see that the rod is
shiny right next to the gear because it has been rubbing in
the back hole. You want to keep the shiny bit.
-
Attach the rigid coupling to the non-gear end of the gear
half of the rod. Tighten the screws firmly.
-
Insert the gear end of the rod into the back hole and wiggle
the coupling end until the gear reengages with the drum.
This will seem difficult until it suddenly snaps into place.
-
Insert the handle half of the rod through the front hole and
further into the rigid coupling. Make sure the handle is
pointing down and that the rod is properly against the drum
lock. Tighten the screws firmly.
I made a mistake when fixing the toilet (details follow) and
ended up having to use two rigid couplings. Here's a picture
of the finished repair job:
Mistakes to avoid
-
Do not use bolt cutters! I originally assumed that
the rod was solid and used some bolt cutters to cut it. This
left the ends badly pinched and I had to cut off an inch
from each end in order to get reasonably round ends. I used a
second rigid coupling and a two inch piece of solid rod to
make up the gap.
-
Do not try to take out the gear once it's been reengaged
with the drum. While it's difficult to reengage the gear
with the drum, it's much more difficult to take it out
again. I had to use a large screwdriver as a wedge and
risked damaging the gear and/or the drum.
Acknowledgments
Thanks to Mitch Coleman and Jim King for parts, help, and
sage advice during this project.
Copyright © 2011 Richard Heurtley. All rights reserved.
|